Let’s Play Around PyCharm, Git / GitHub, and Kivy Together!
If you still remmeber, in the previous setup page you have not only installed PyCharm IDE, but also Git and Kivy. Let’s also play around them a bit to know how things are working together.
Step 1: Forking a Project into Your GitHub Account
To get started using Git and GitHub. You need a GitHub account.
- Create a GitHub account if you do not have one.
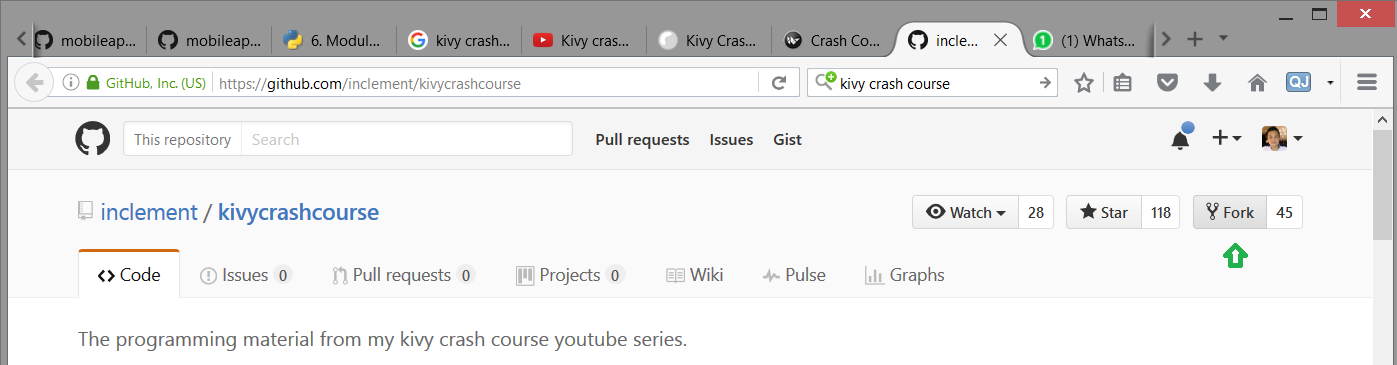
- Visit Kivy Crash Course and press the Fork button.
Step 2: Clone the Forked Project into Your Machine via PyCharm IDE
Now you have forked a project into your GitHub account. Next step is to clone this project into your local machine. To do this:
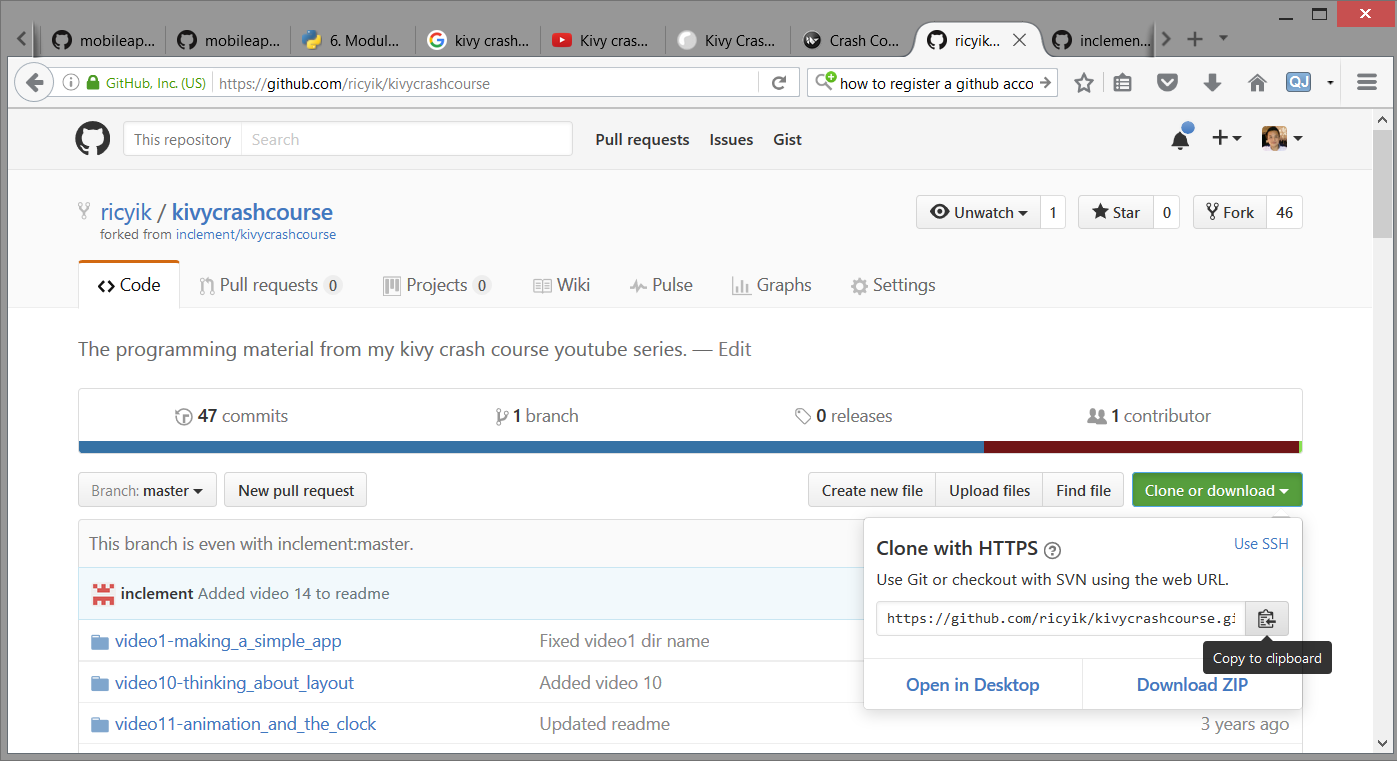
- Follow the steps as mentioned in here. Locate the kivycrashcourse repo to be cloned into your machine.
- If it is successful, you should be seeing a screen like the following in step 3.
Step 3: Running Your first Kivy App
At this point your have setup yout PyCharm environemnt together with the Kivy Crash Course. While you may watch the video for the full crash course, you may run your own copy of Kivy app. Here is how to do it:
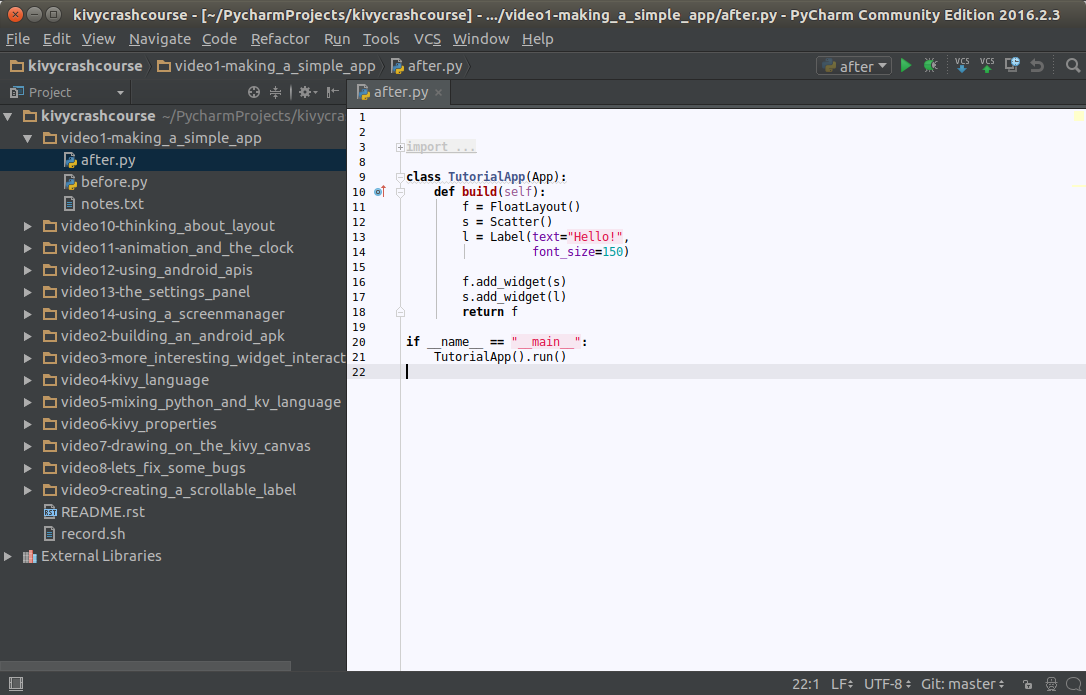
- Open after.py like the screen above.
- Press ALT-SHIFT-F10 to run the program. Note at the 1st attempt PyCharm may be processing in background such that you cannot run the app until it has finish. You can find out PyCharm’s progress by looking at the lower right corner of the screen. Be patient and run again after it has finished.
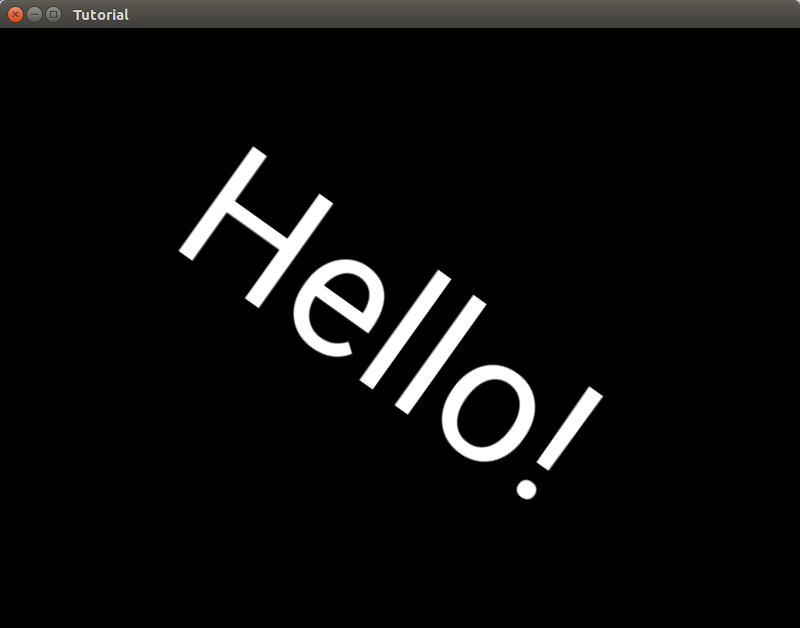
- If you can see a new window like below, that means you have setup the things you need to start building app in PyCharm and Kivy. Well done!